
Website publishing
To publish a new website to the internet using Gardener, we start by creating a website under the server entry.
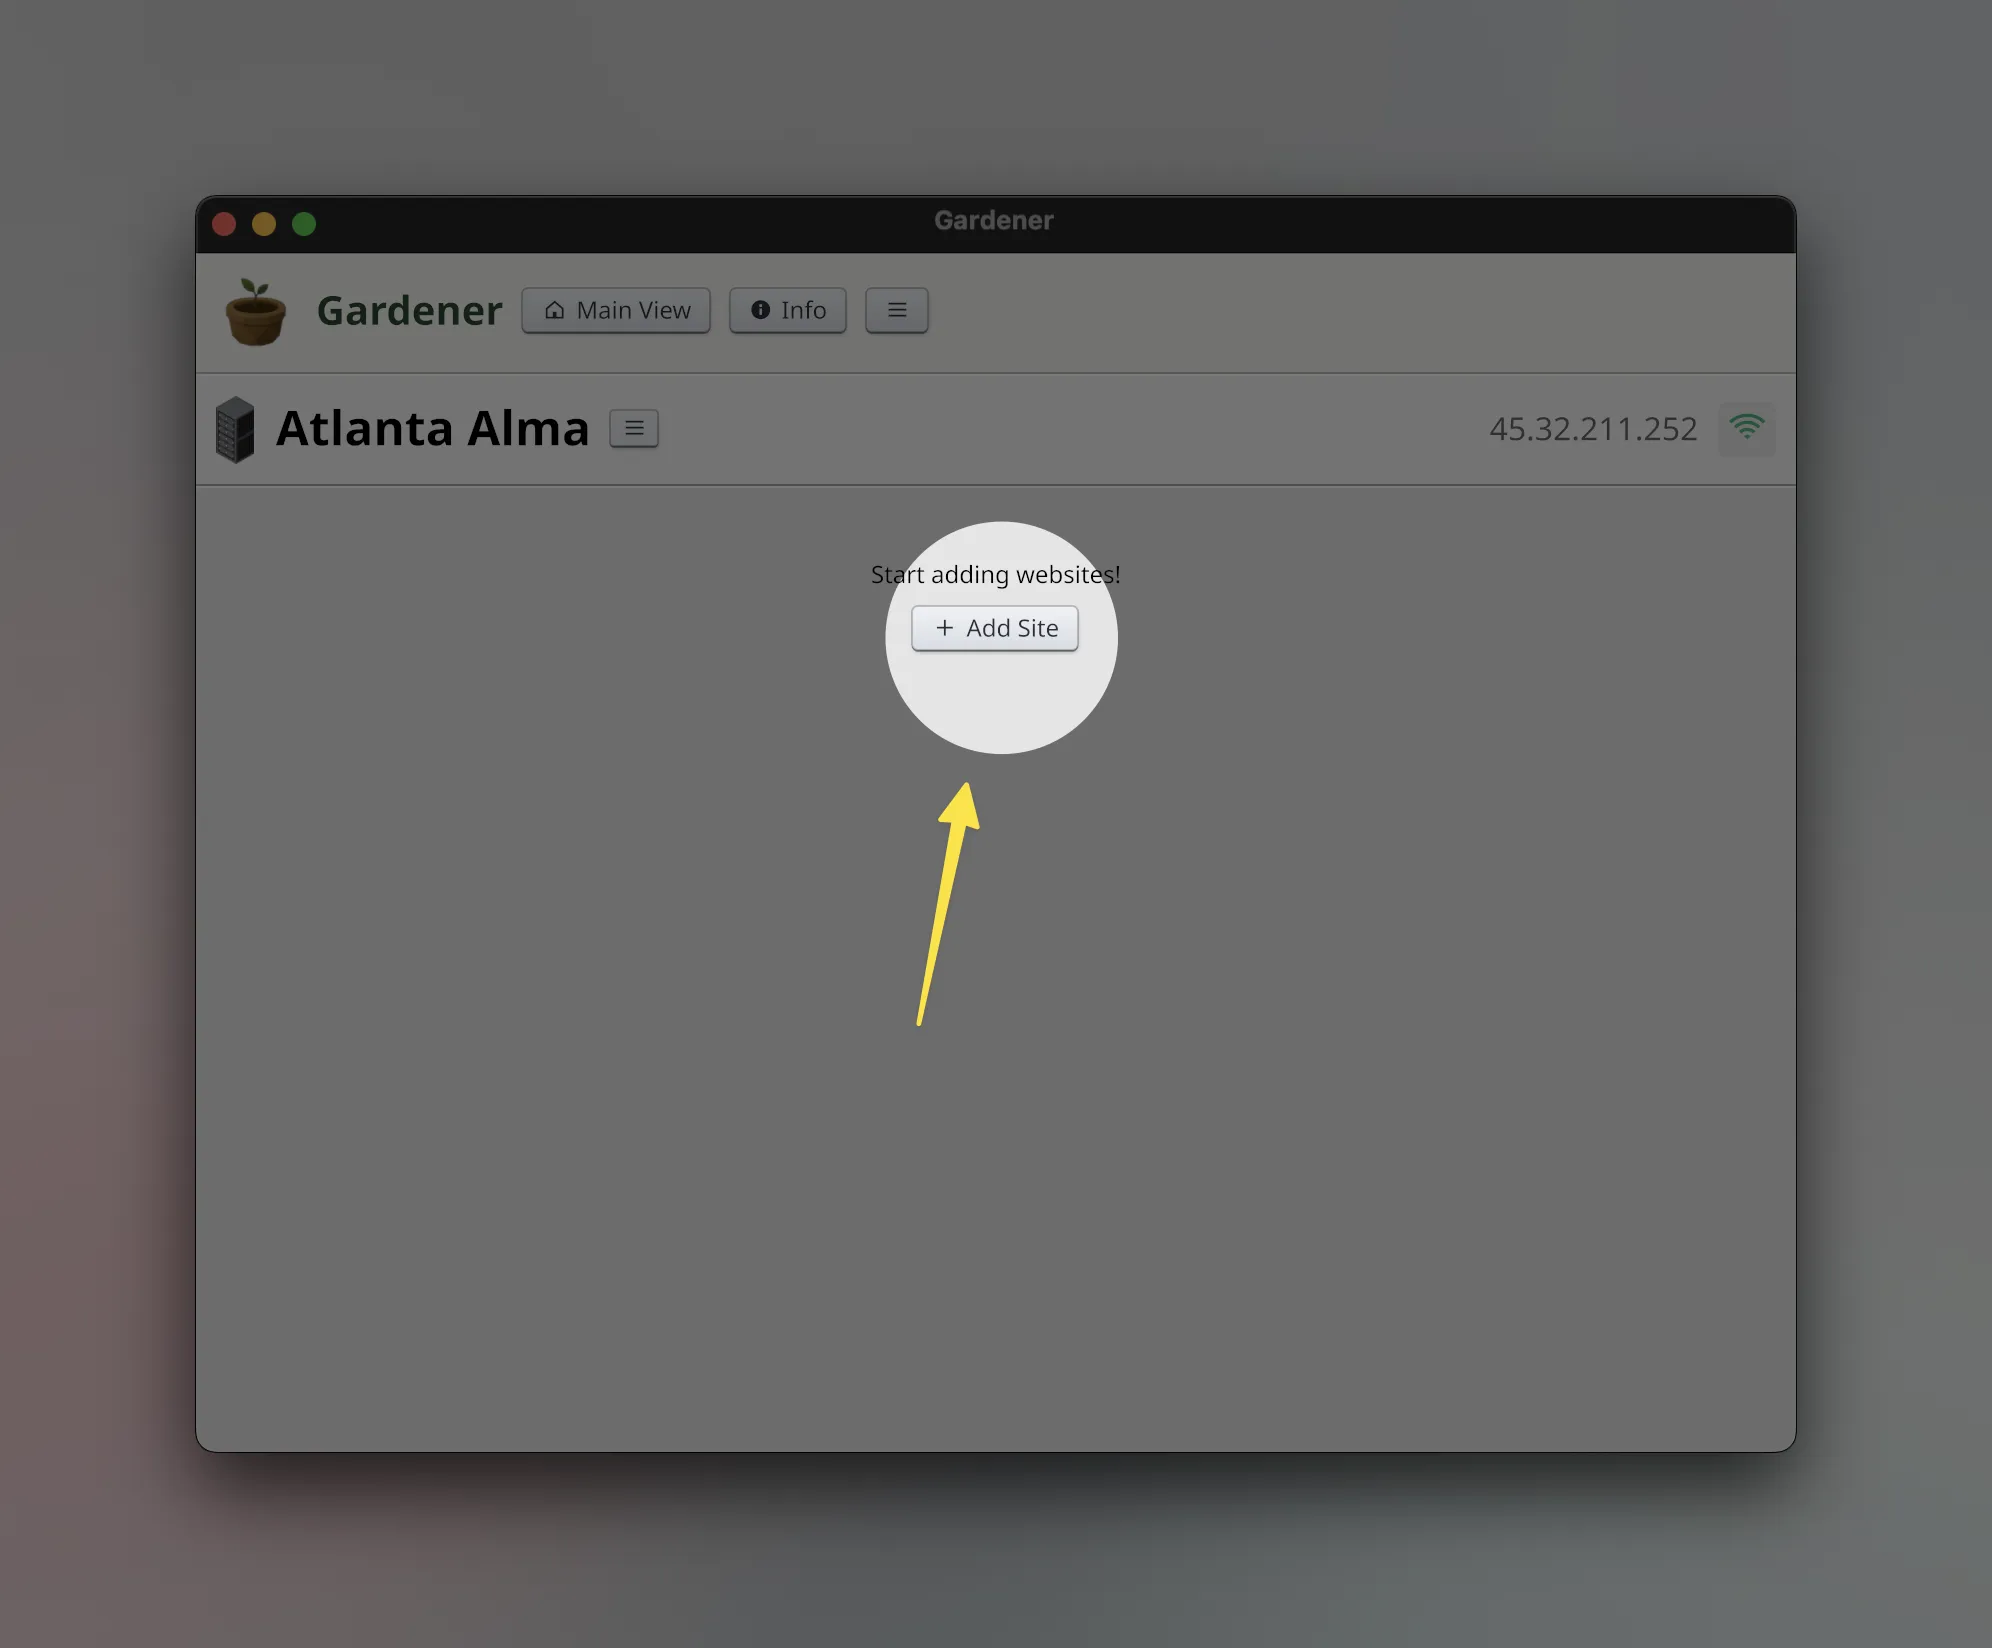
For a freshly setup server, there will be a prominent "Add Site" button:
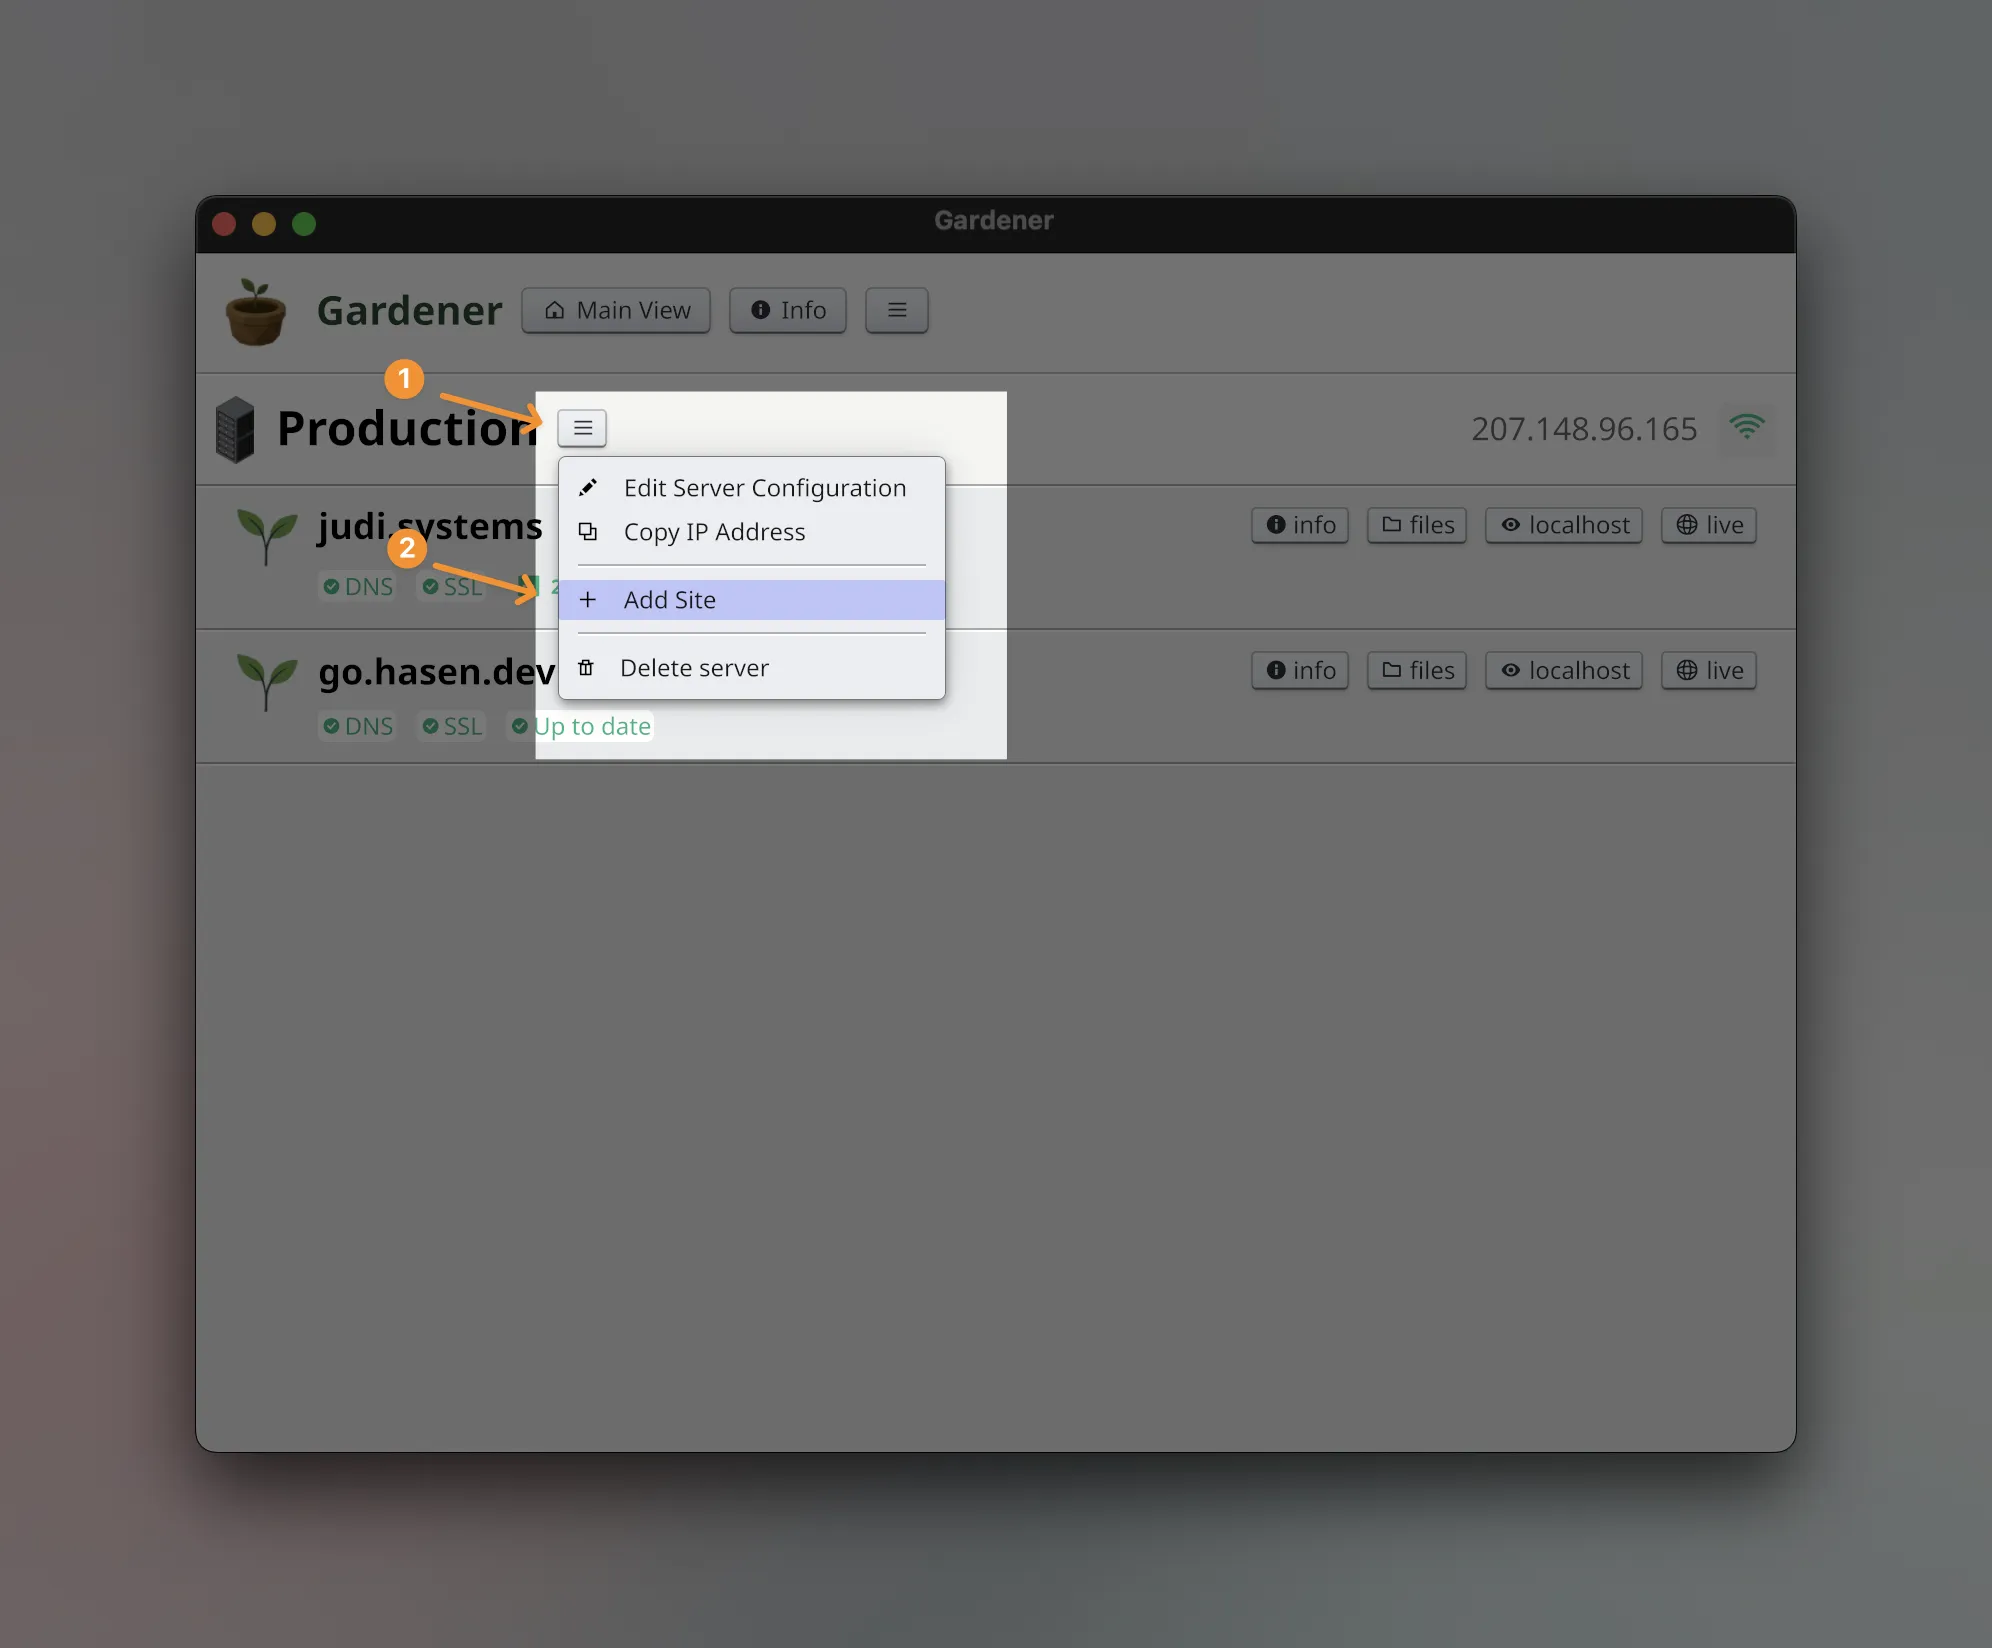
When you already have sites added under a server, that button will not be shown, but you can add more sites by clicking the "hamburger" button next to the server name.
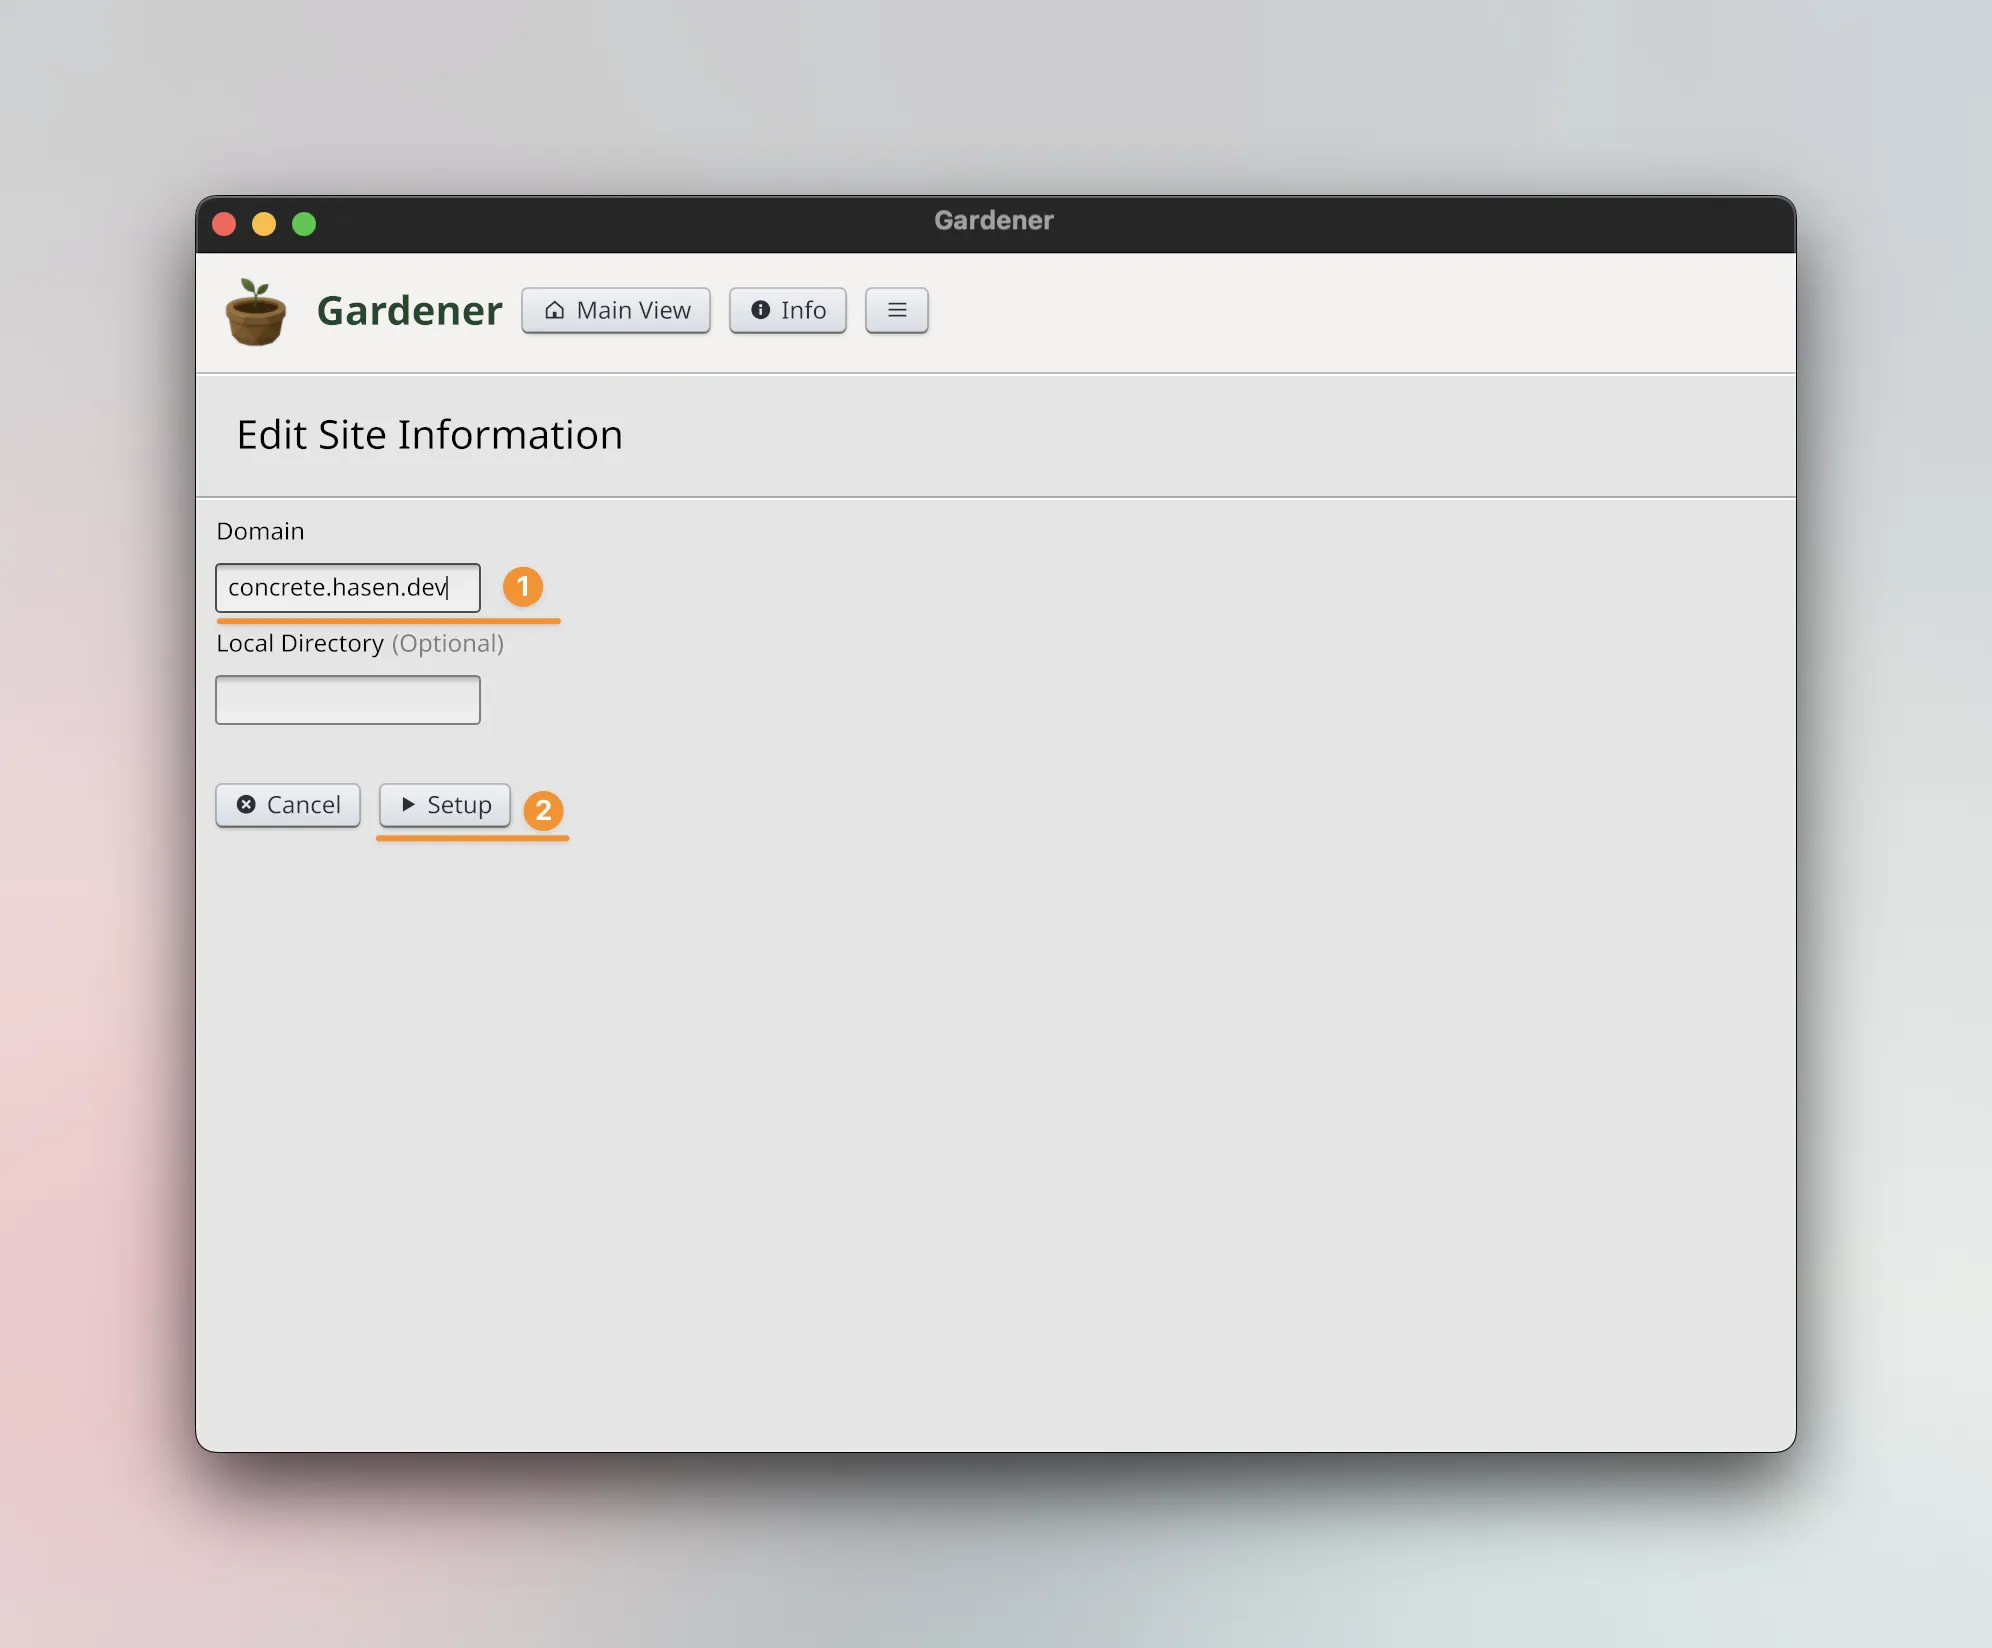
This will take us to a new screen where we enter the domain name of the site we want to publish, and optionally a directory for the website.
The directory is optional; if you do not specify it, Gardener will use ~/sprouts/<domain> by default.
As mentioned previously, we provide a sample site template, which you can obtain by following the "View Order" link sent to your email.
The zip file named sample-theme-concrete.zip contains the template. You can
copy its content to the directory of the site you want to add either before or
after the creation process.
To keep things simple, we'll look at what happens when you enter a domain name but leave the directory field empty.
Here's what happens when click setup:
- A default directory is created if not specified
- The website directory is uploaded to the server under the domain name specified.
- DNS records are verified, and the result id shown to the screen.
- If DNS records map the domain name to the server's IP address correctly, a green checkmark is displayed
- Then, an SSL certificate is issued by sending an https request to the server.
- This will trigger the Let's Encrypt certificate provisioning process.
- This can only happen once DNS records have been configured and propagated.
- Note: the SSL certificate provisioning process will take a few seconds!
Here's a demo of what the setup process looks like:
What happened behind the scenes in the above demo is:
- Empty directory created at
/Users/hasen/sprouts/alma.hasen.dev/ - Directory is uploaded to server at
/opt/sprouts/sites/alma.hasen.dev - DNS queried to ensure
alma.hasen.devpoints to207.148.96.165 - GET http request sent to
https://alma.hasen.dev/to trigger SSL certificate provisioning via Let's Encrypt.
Once this process is complete, the website is now live on the internet. You can click the "live" button or the website's domain name on the UI to open the website's homepage in your default browser.
If you did not specify any directory, the site should be empty.
You can open the site's local directory by clicking the "files" button on the site's row. This will launch your default file explorer (e.g. Finder on MacOS) and open the directory in it.
You can now put some dummy content, or use the sample template. Once you do that, Gardener will detect that the site's content has changed since last time it published it, and the UI will change to reflect that.
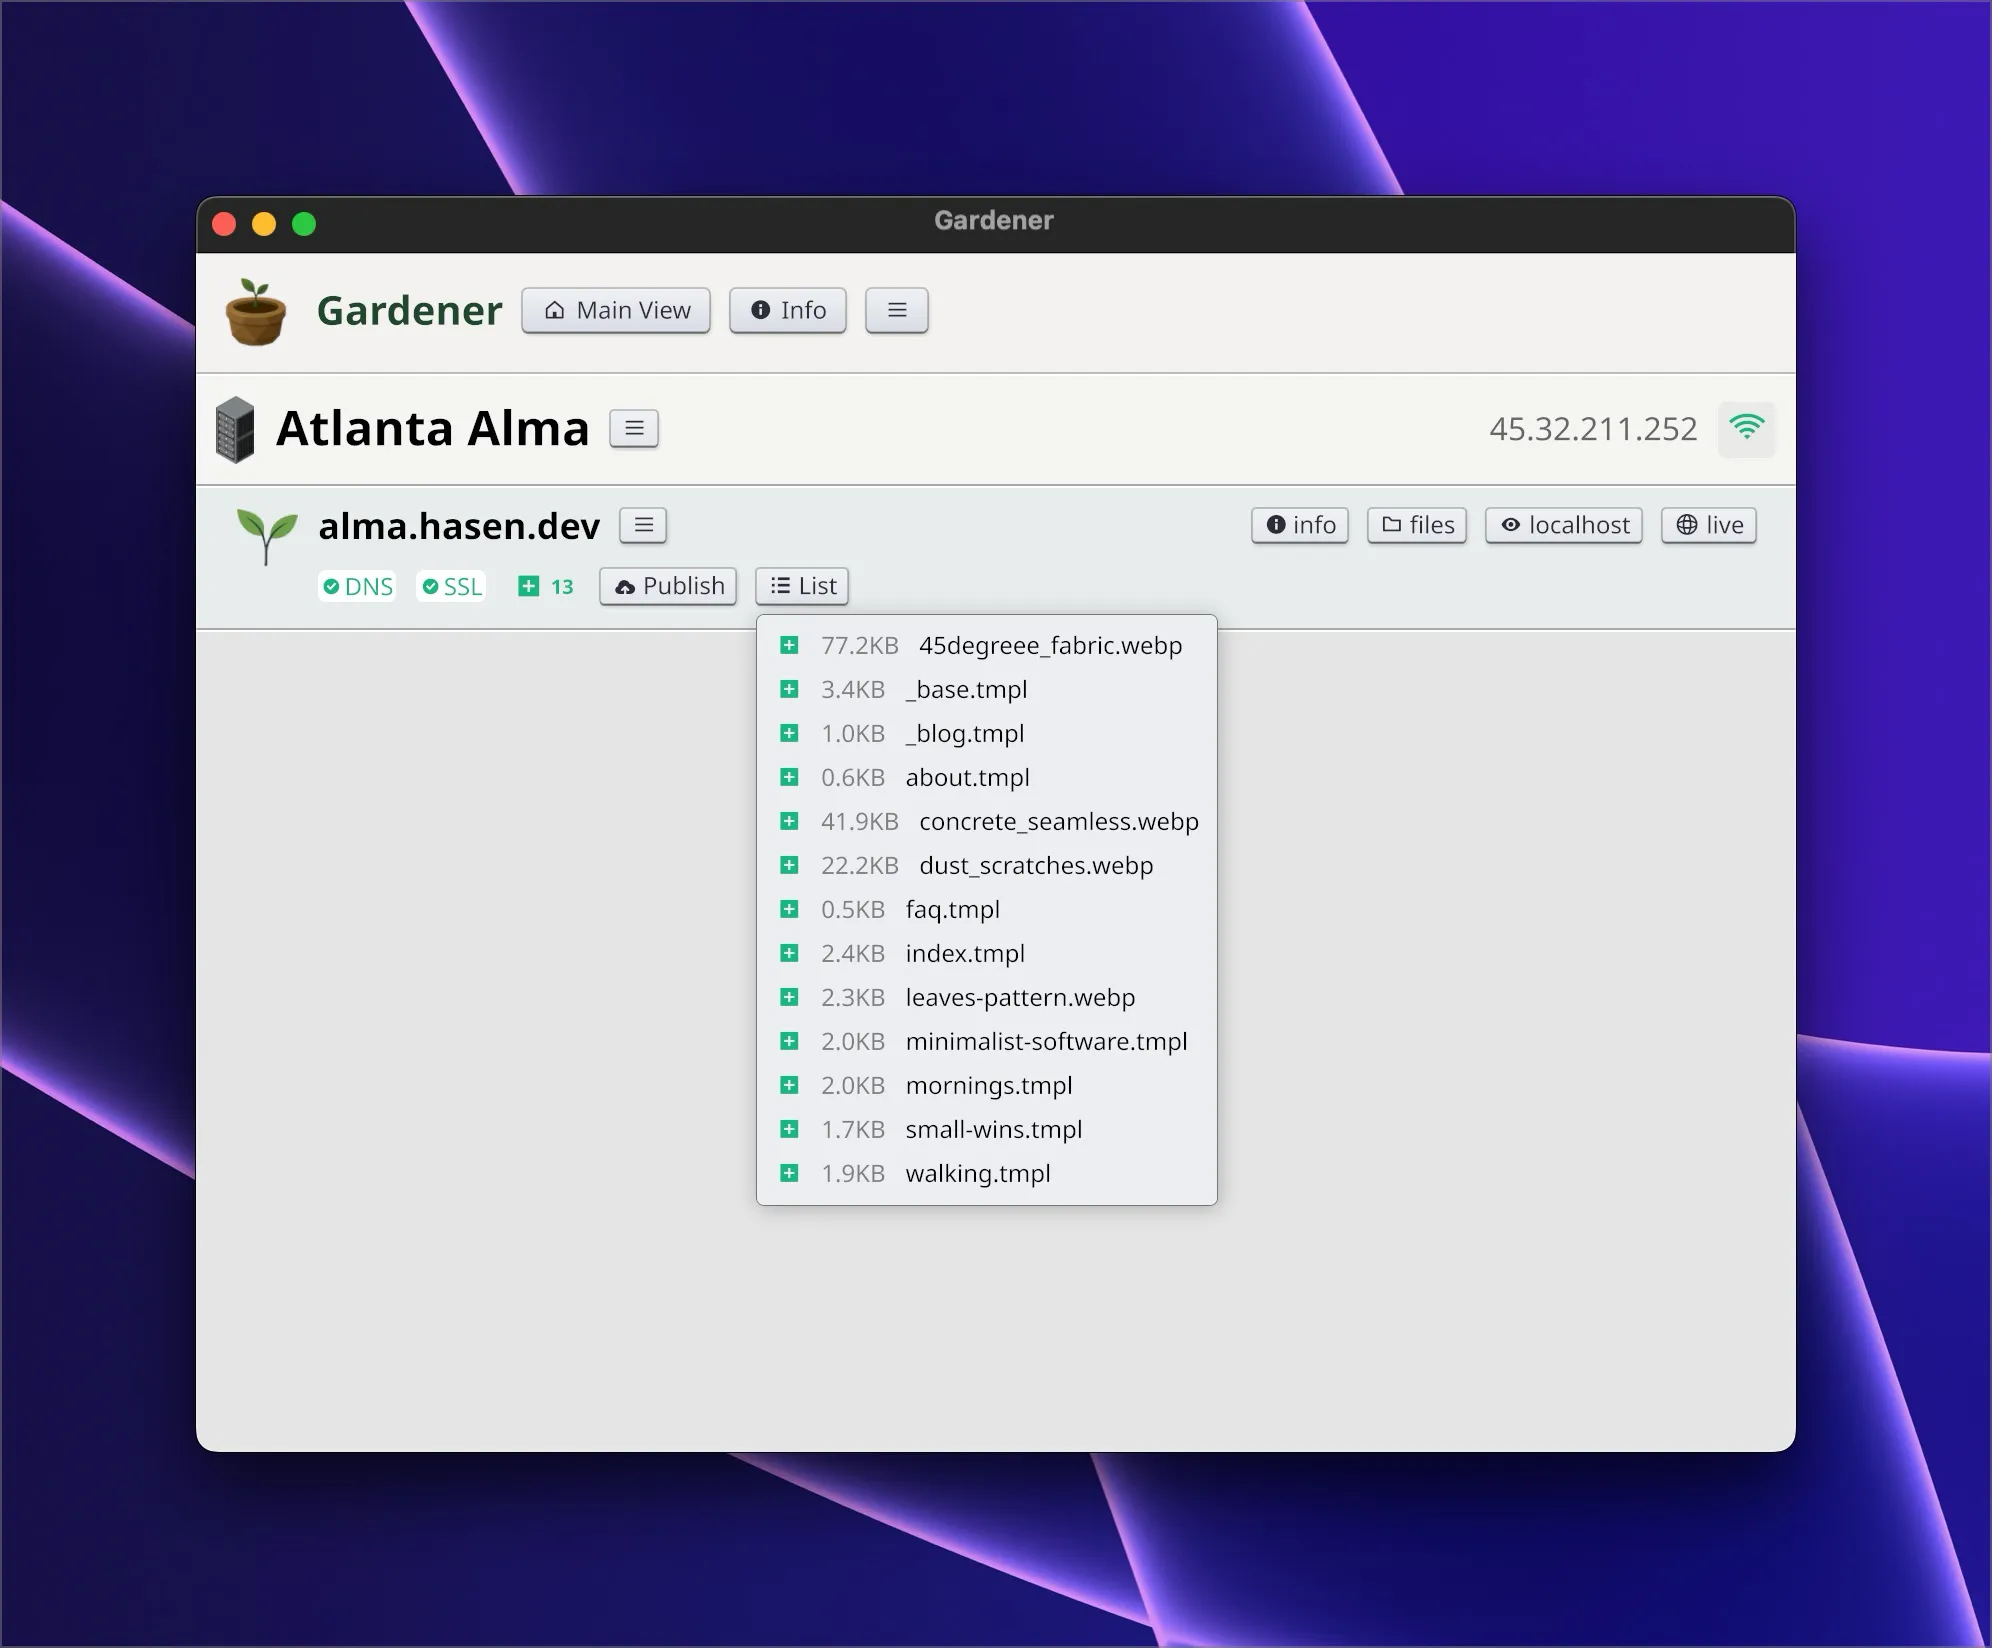
Note that Gardener does not keep track of the content you uploaded: only the file names and the publishing date. If a file has a modified timestamp newer than the last publish date, it will be considered changed. If a file was uploaded previously but has been deleted, that will also be detected, but at the time of this writing, you cannot ask Gardener to show you what changed in the file since the last publish, because it doesn't keep track of that.
Here's a demo of publishing a site and verifying the content is live!
(Note that I used the "force refresh" keyboard shortcut).
That's about it for the publishing mechanism.
As mentioned before, the current version of Sprouts only supports templated static content, with no dynamic features.
Localhost preview
Before you publish your content live to the internet, usually you want to check how it's going to look locally.
You can click the "localhost" button on the site row on the UI to open a localhost preview in your default browser!
This comes builtin with Gardener. There's nothing you need to do or configure to make it work.
It just works out of the box!

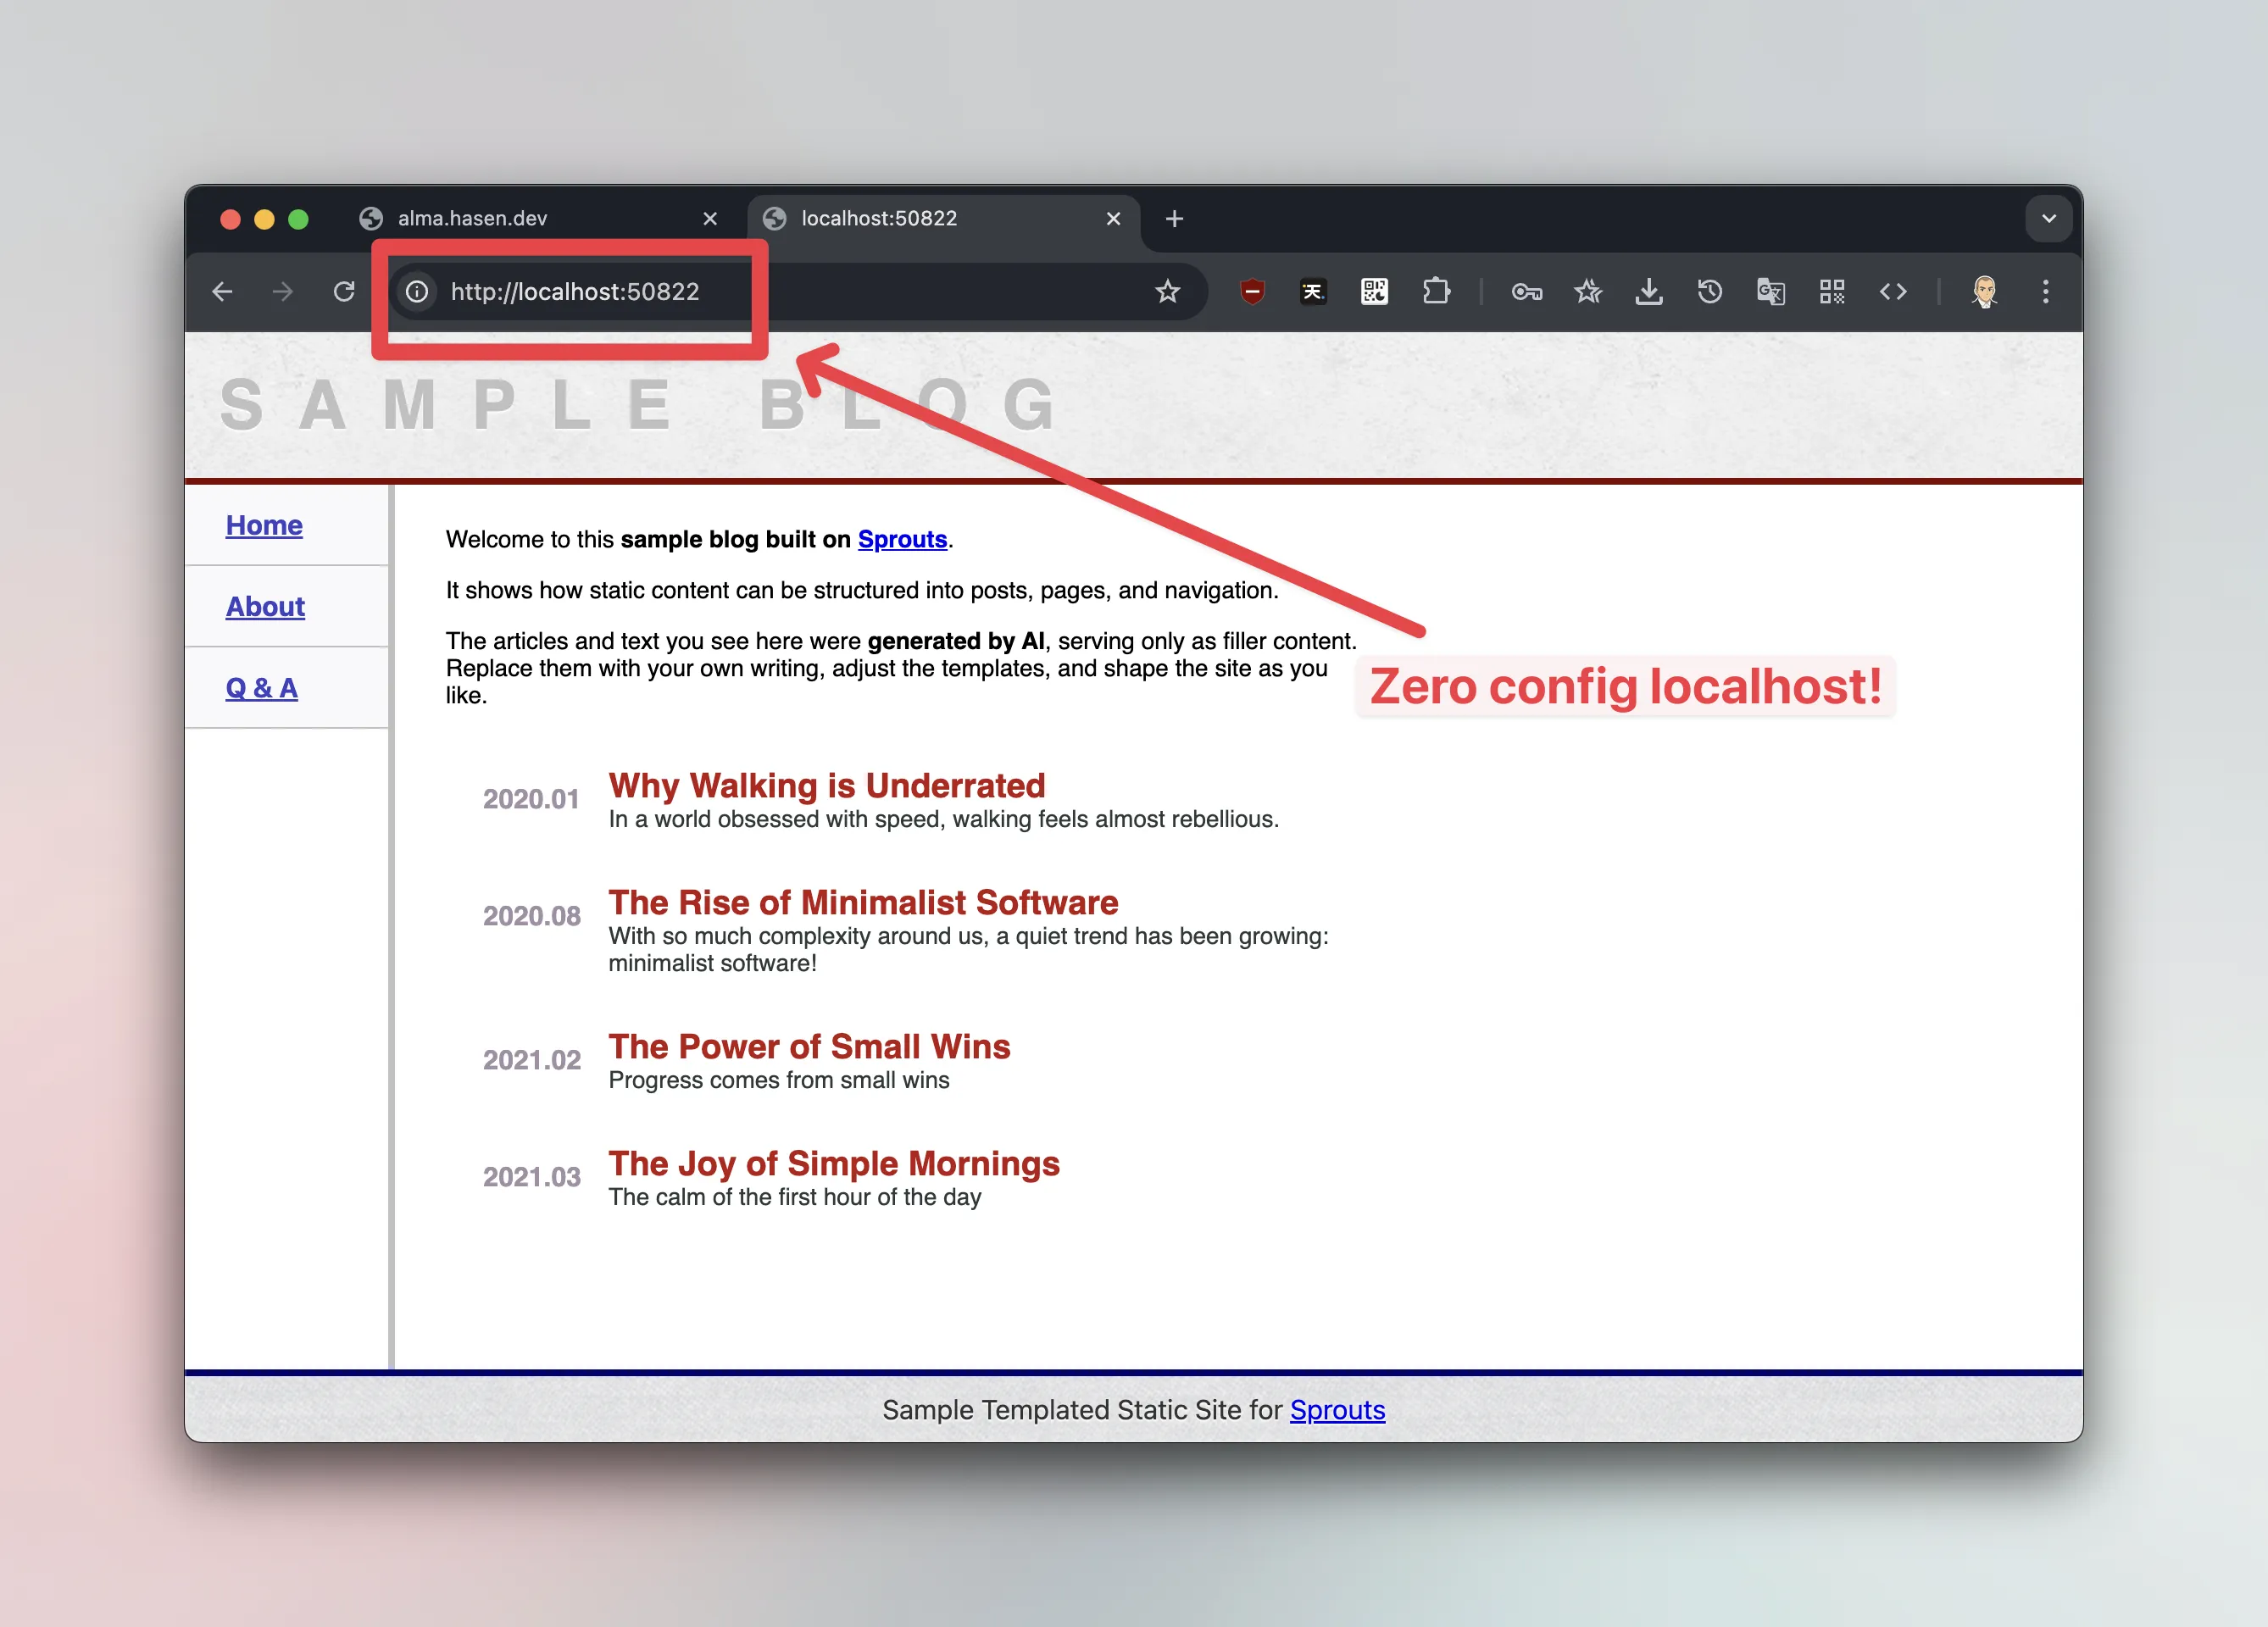
Note: the port number is chosen randomly. If you close Gardener and open it again, it is very likely that it will choose another port number.
Now, this gives you a very easy way to develop your website on your machine.
If you use some software to built the HTML visually, and you can set it up so it puts the final content in the directory that Gardener is using for the website, you can do so.
If you are more of a hands-on kind of person with your html/css and you want to edit your website with a code editor, you can do that too, and in that case, you might want to learn about our templating system.